marqueta.org
You can't always apt-get what you want
Infosec - Cycling - Estudiantes
RHCE / RHCSA
Once a sysadmin, always a sysadmin
Camino de Santiago 2024 with a gravel bike
When I completed my first Camino de Santiago in 2022, I was warned that it would be very difficult to do just one. I quickly realized this was true, because as soon as I finished, I was already thinking about doing it again.
In fact, I planned to do it in 2023, but I had to cancel at the last minute due to an unforeseen event.
2024 presented the opportunity: I would have a week’s holiday at the end of May, a potentially great month to do it. Good weather, long days, a good number of pilgrims but not too many…
I didn’t plan too many changes compared to the previous trip: just putting into practice what I learned from my past experience and correcting some mistakes. And what are these mistakes and learnings? Fundamentally these:
- I wanted to stick more to the traditional route
- I didn’t want to have a fixed plan from the beginning
- I would take some variants I didn’t choose on the previous trip: for example, San Xil or the climb to Mostelares (which I avoided by taking a detour)
Why the Camino Francés again? Because it’s very rich, you really never “finish” it, and there will be time for others. Also, I wanted to record a decent quality video and not the crappy one I did the first time :) Here you have a 90 seconds summary:
And a longer (1 hour) video:
The Bicycle
The bike is still the same as in the previous Camino, a 2021 Megamo Jakar 30.
I couldn’t be happier with this bike, it hasn’t complained in the slightest 😄 Befor the journey asked for a general check-up (no issues, just a new chain) and put new 40 mm Michelin Power Gravel tires that worked wonderfully. During the journey, I did not have a single problem, weird noise, adjustment issue, or even a flat tyre.
Of course, thanks to Fer from CicloSport Plus (and especially his mechanic :) who returned the bike in such a perfect condition.
The Credential
This time I would start from home, so, on the occasion of a visit to the famous Calle Laurel a few days before setting off, I went to the Municipal Albergue of Logroño to get the credential.
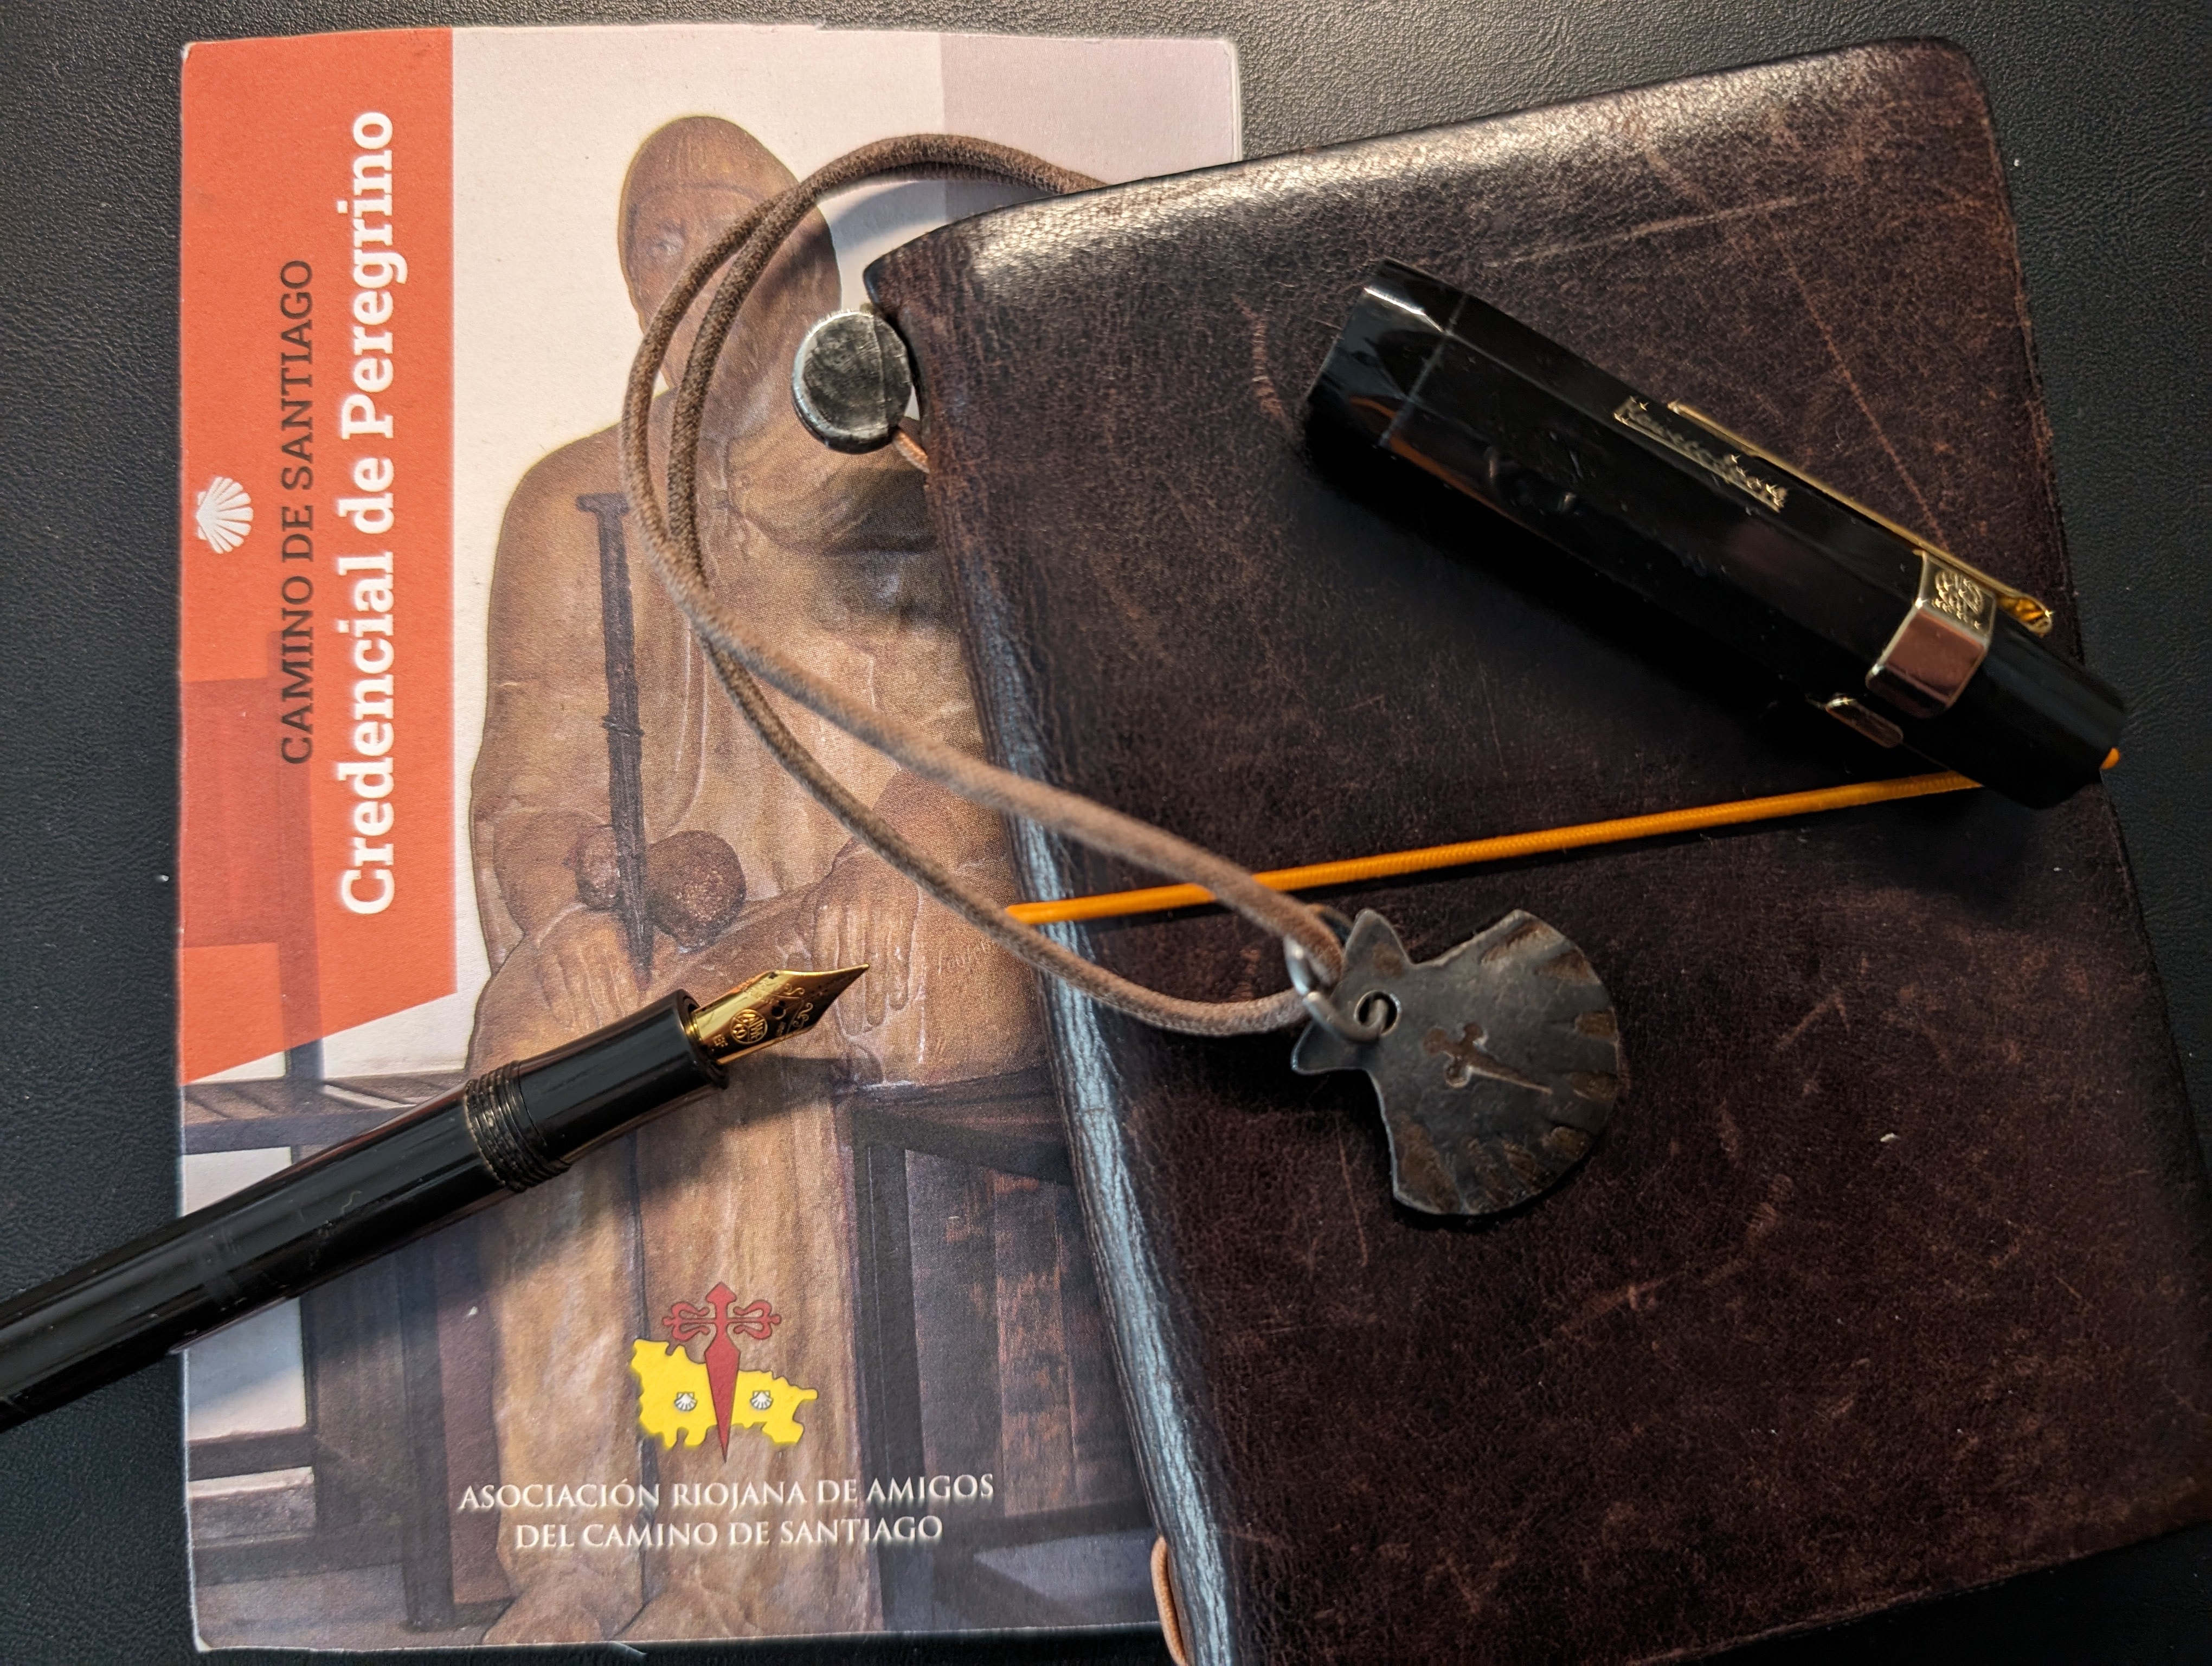
Pilgrim’s credential
The Gear List
To be honest, the gear I took on the previous trip was very well chosen, neither too much nor too little. Even so, I tried to reduce it slightly. For example, instead of two cycling jerseys and two casual shirts, this time I took just one jersey and two shirts that I could use both on the bike and off. Not much, but every square centimeter counts :)
The Bags
Again, I used bikepacking bags instead of the traditional panniers. I have never used panniers so I don’t know which approach is best. I do not have panniers and I try to travel light, so I do not plan to use panniers any time soon.
There is a single change in the bags compared to the previous trip: I replaced a Topeak bag (the “toploader”) with one from Apidura.
Although the Topeak bag supposedly had a waterproof cover, it didn’t work, and everything inside got wet. Apidura bags are quite more expensive, but I’ve never had this problem with them. So here’s what I took:
Rapha Bar Bag
This is the handlebar bag, with a capacity of about 2 liters. Of course, it has its pros and cons:
Pros:
- Easy to attach and remove
- Good capacity
- It has a compartment with another zipper and internal mesh pockets to help organize things
- It has a shoulder strap making it easy to carry when off the bike
Cons:
- No, it’s not waterproof (even if it is said to be “made with a waterproof fabric”)
- The shoulder strap sometimes comes off; the fastening mechanism isn’t well engineered
- It’s not cheap…
And this is the stuff I carried inside:
- Wallet
- Credential
- Notebook (a Midori passport) and writing instruments
- Sunglasses and spare prescription glasses
- Cables and charger
- GoPro accessories (a battery and several extra cards, plus the handle/tripod which I never used)
- 10.000 mAh powerbank (very useful)
- A small headlamp
- A swiss army knife
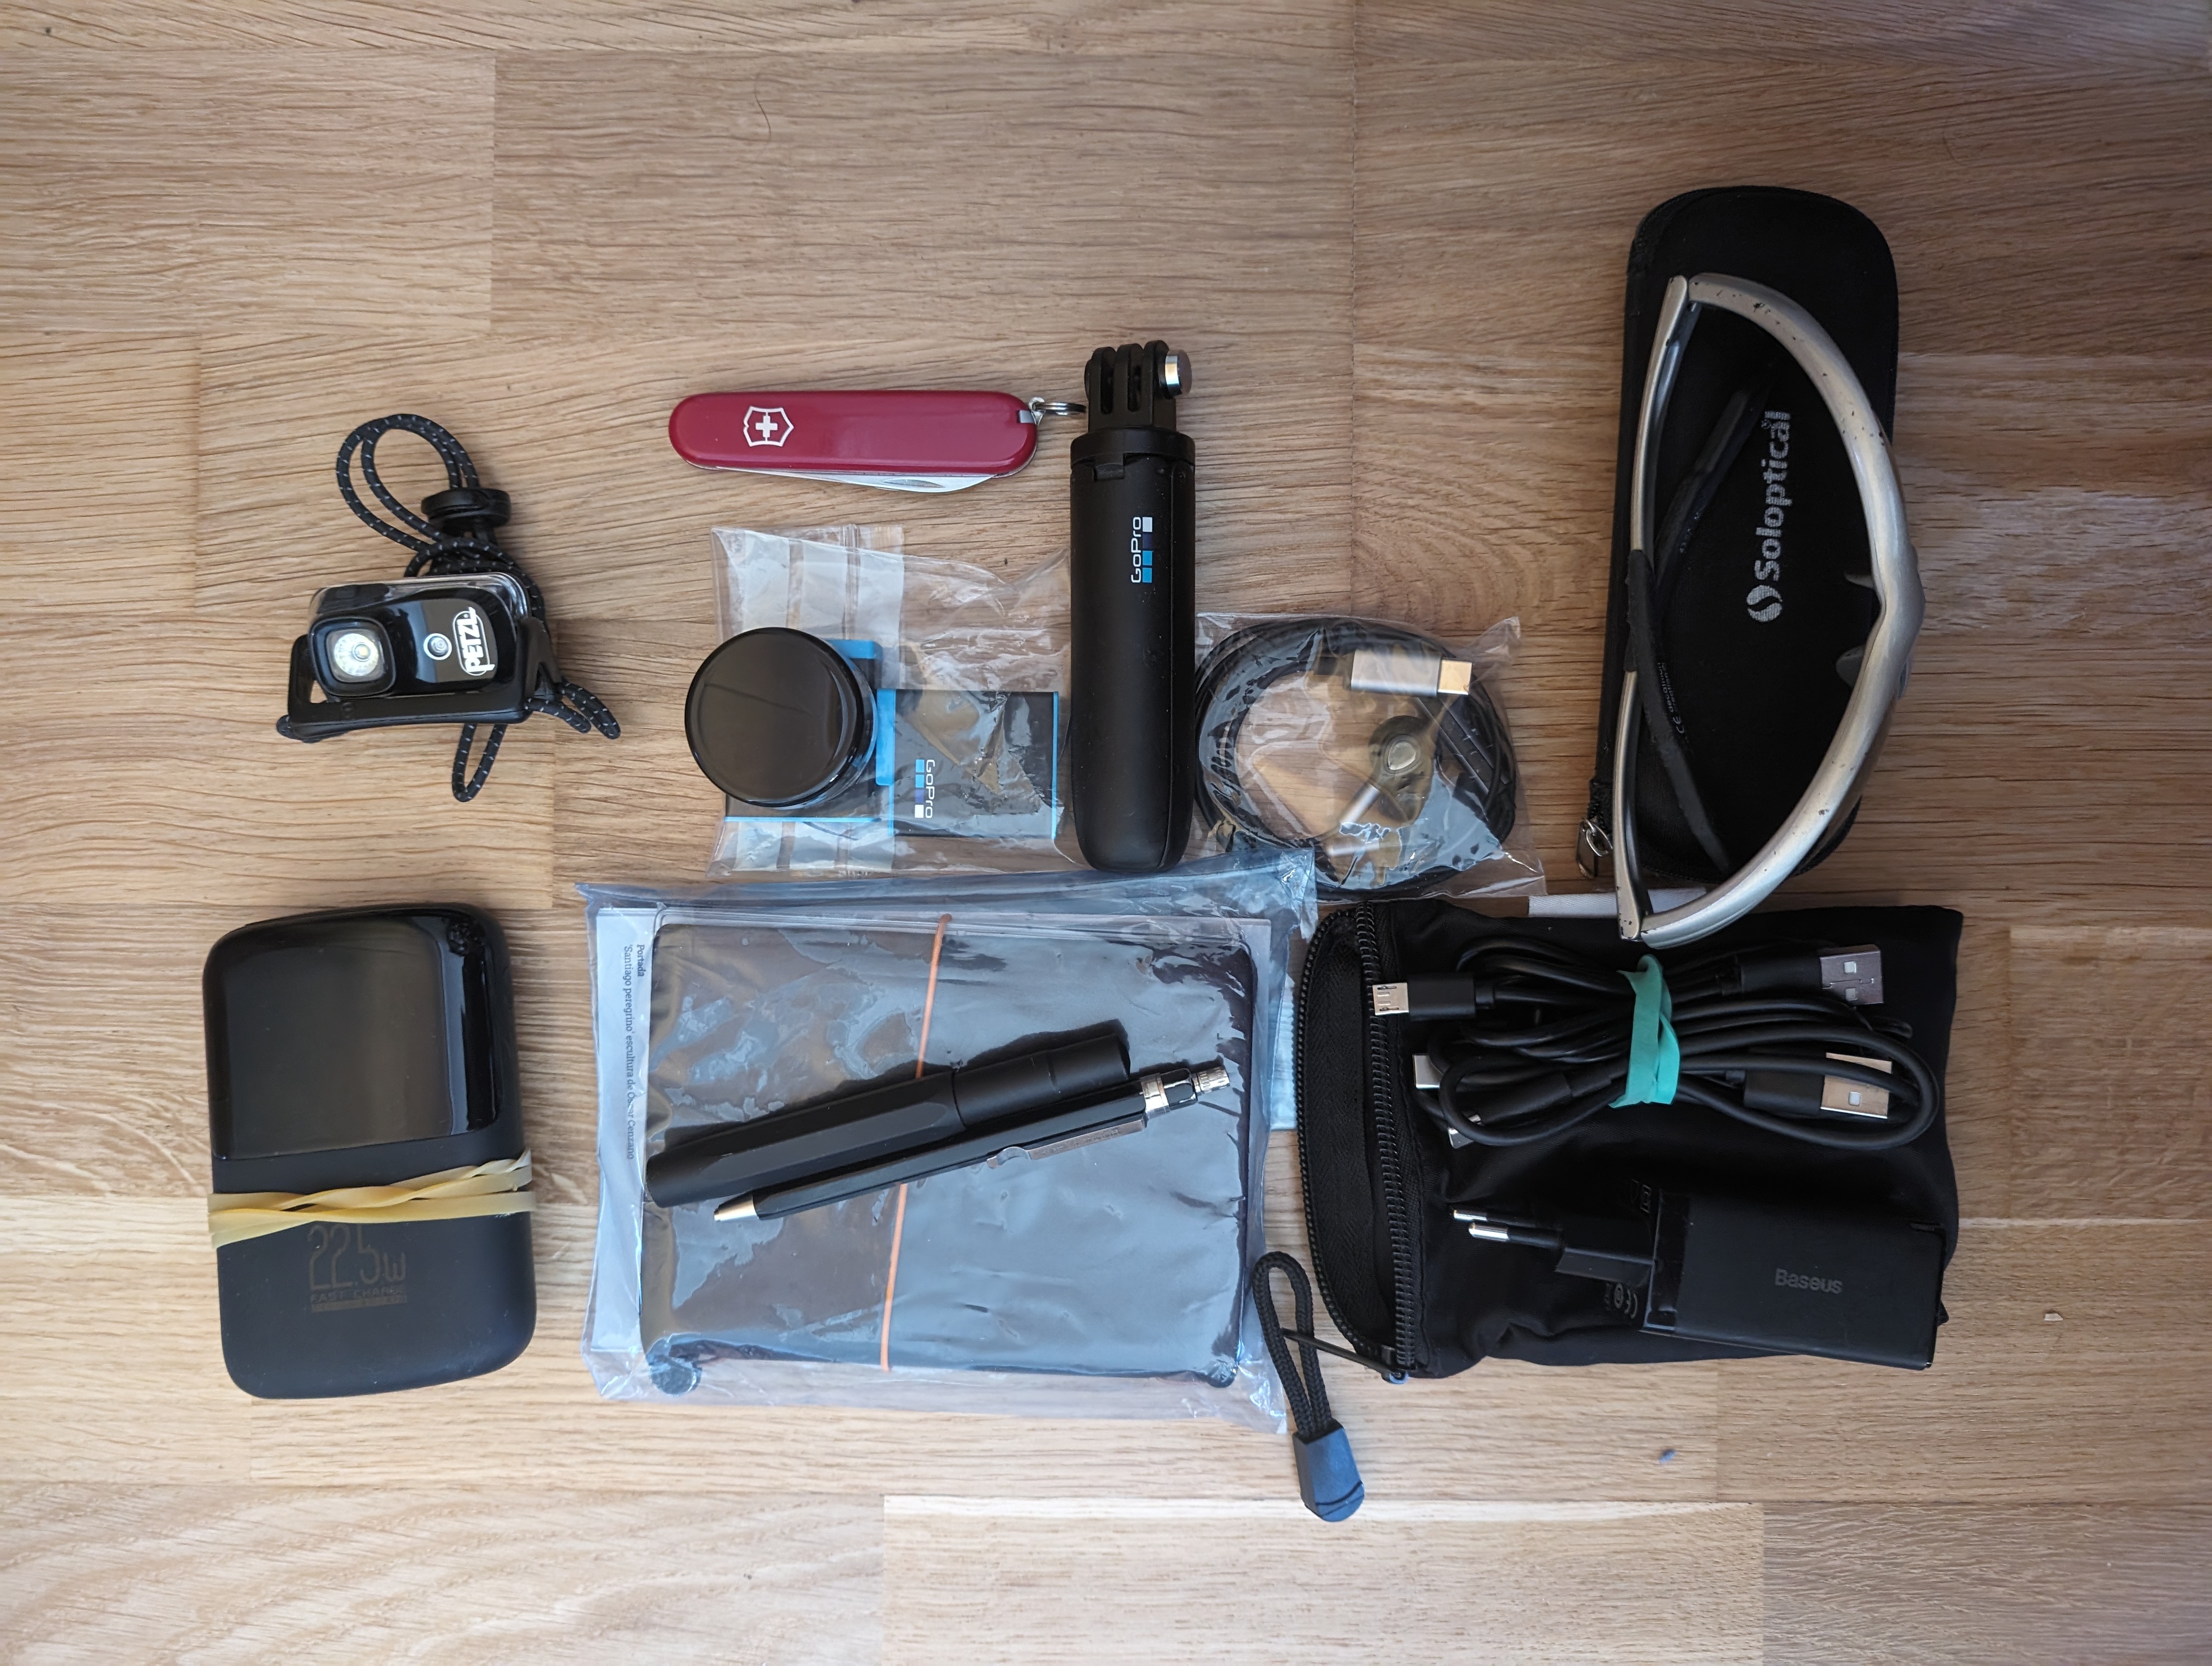
Gear in the handlebar bag
Geek note: I love fountain pens. A lot. But I’ve never dared to take one on a trip… until this time, a small Kaweco Sport. This deserves a separate article (recently written), but in short: yes, it was a great idea!
Apidura Racing Top Tube Pack
The advantage of this bag is that it’s totally waterproof and closes with a magnet. At first I had a bit of a weird feeling but it works perfectly and, once you get used to it, it’s very convenient. However, you have to be careful not to overfill it because then it won’t close. As any other bag, I suppose 🤔
When I set off I only had some “emergency” food (gels and gummies) in it, but I used it for items I wanted to keep handy like arm warmers.
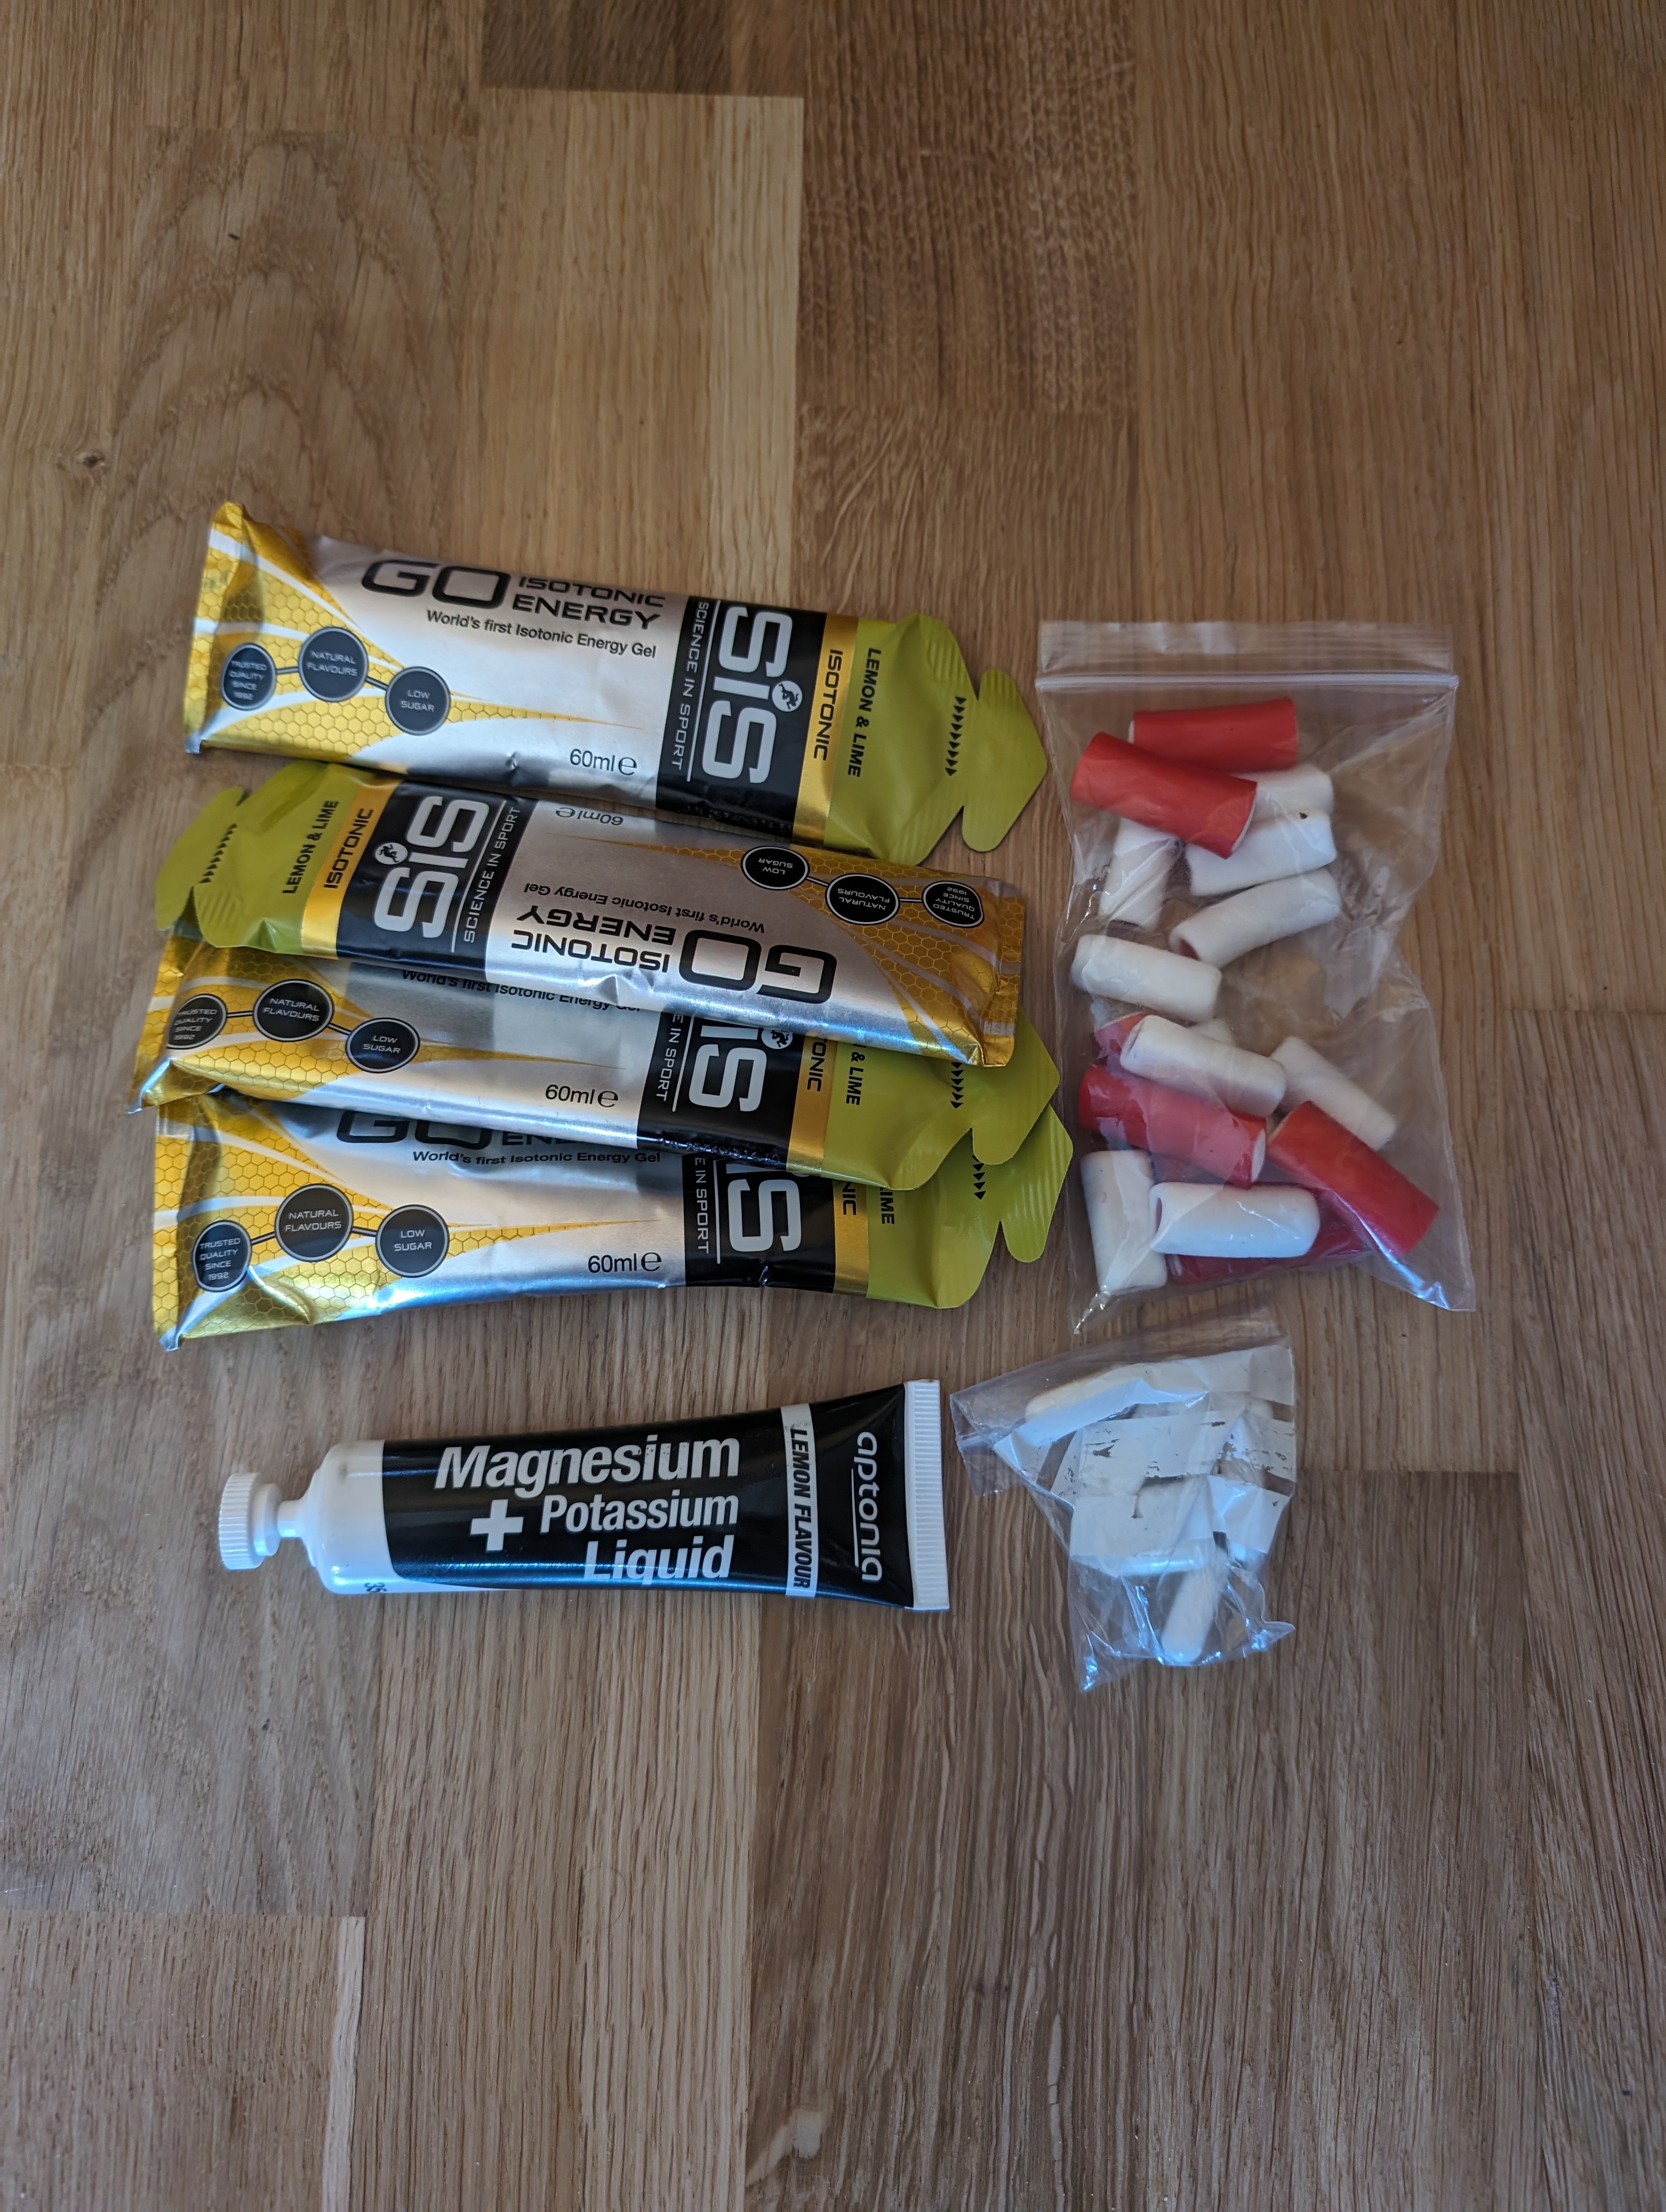
Top tube bag contents
Apidura Racing Frame Pack
This is where I mainly stored spare parts and tools as well as a rain jacket:
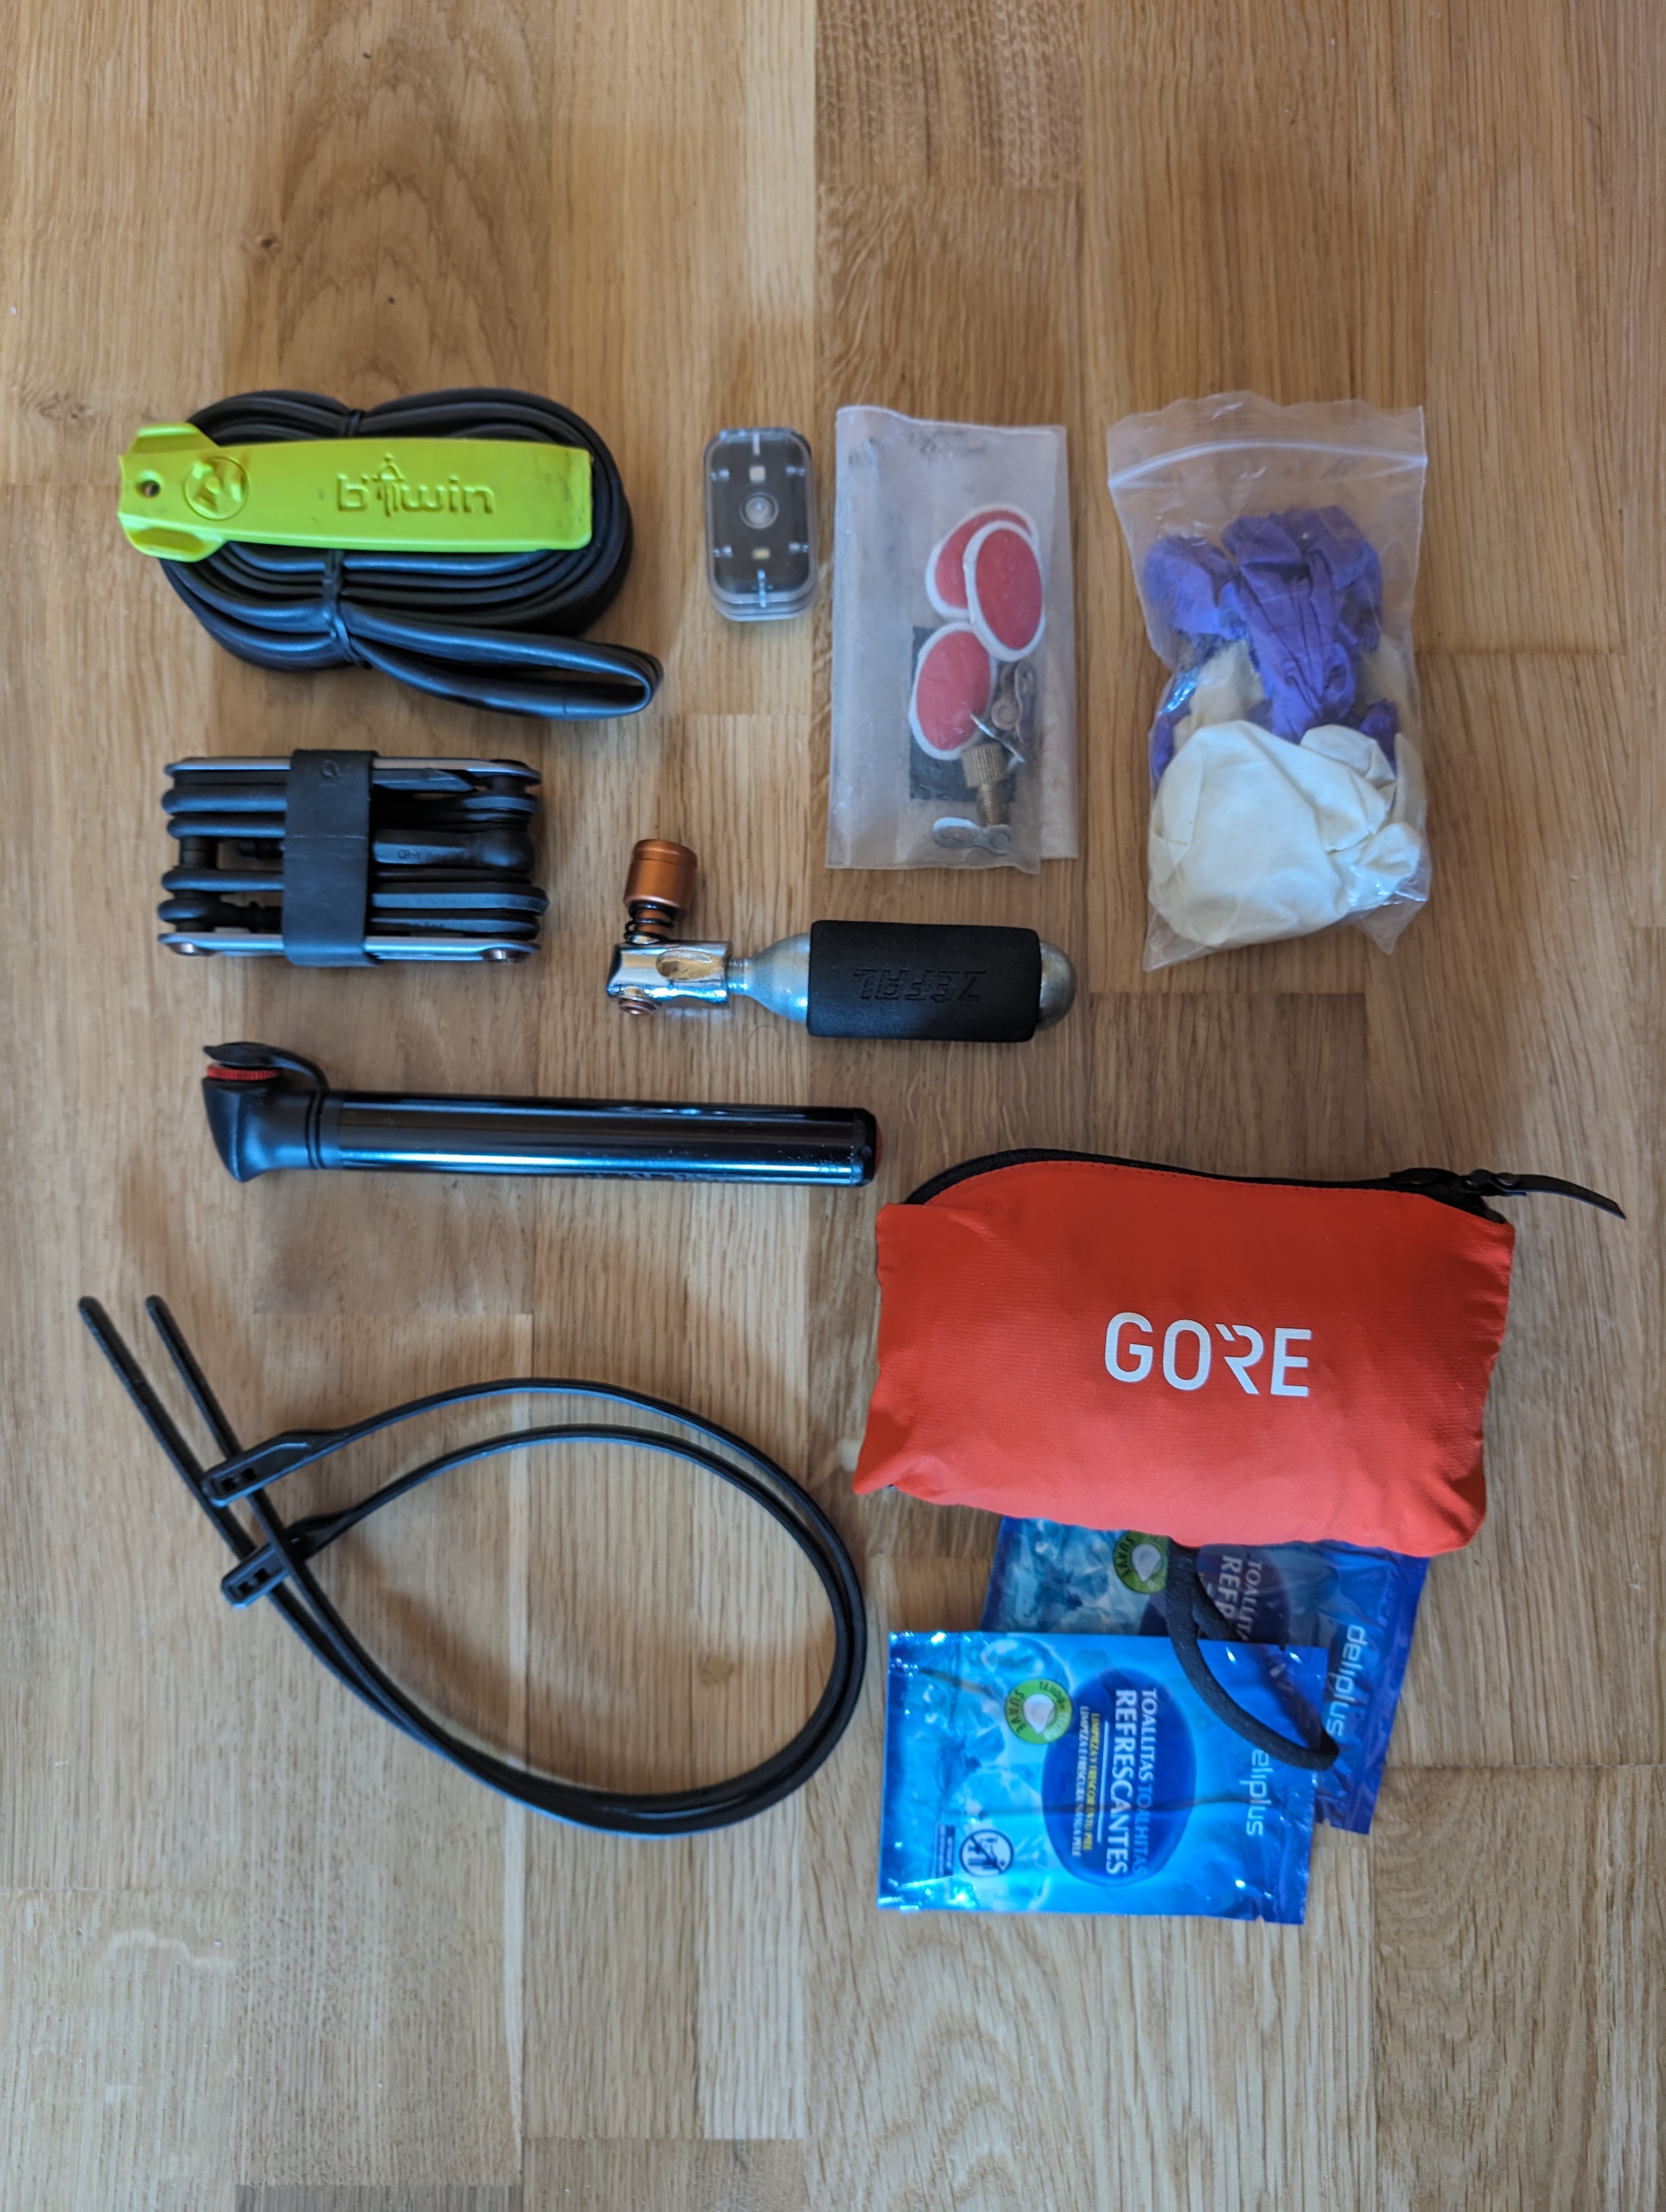
Frame bag contents
With what can be seen in the photo, the bag was far from full, but I prefer it that way because it’s almost impossible for it to rub my legs.
Topeak Backloader 10 L
It’s a 10-liter bag with a feature I love: it has a waterproof bag inside the bag, so you don’t have to dismount it to take things out at the end of the day. You simply open it and take out the inner bag. The inner bag, made of waterproof material, has a built-in air release purge valve to keep the bag compact and dry.
Also, the attachment is very good, and I don’t notice any movement if fastened and packed carefully. The elastic bands make it easy to secure extra load on top (in my case, extra shoes), and it also has a loop for a rear light.
While I had to ditch some other Topeak bags, this one seems wonderful. However, the outer bag is starting to wear out, and I don’t know how long it will last.
Here’s what was inside:
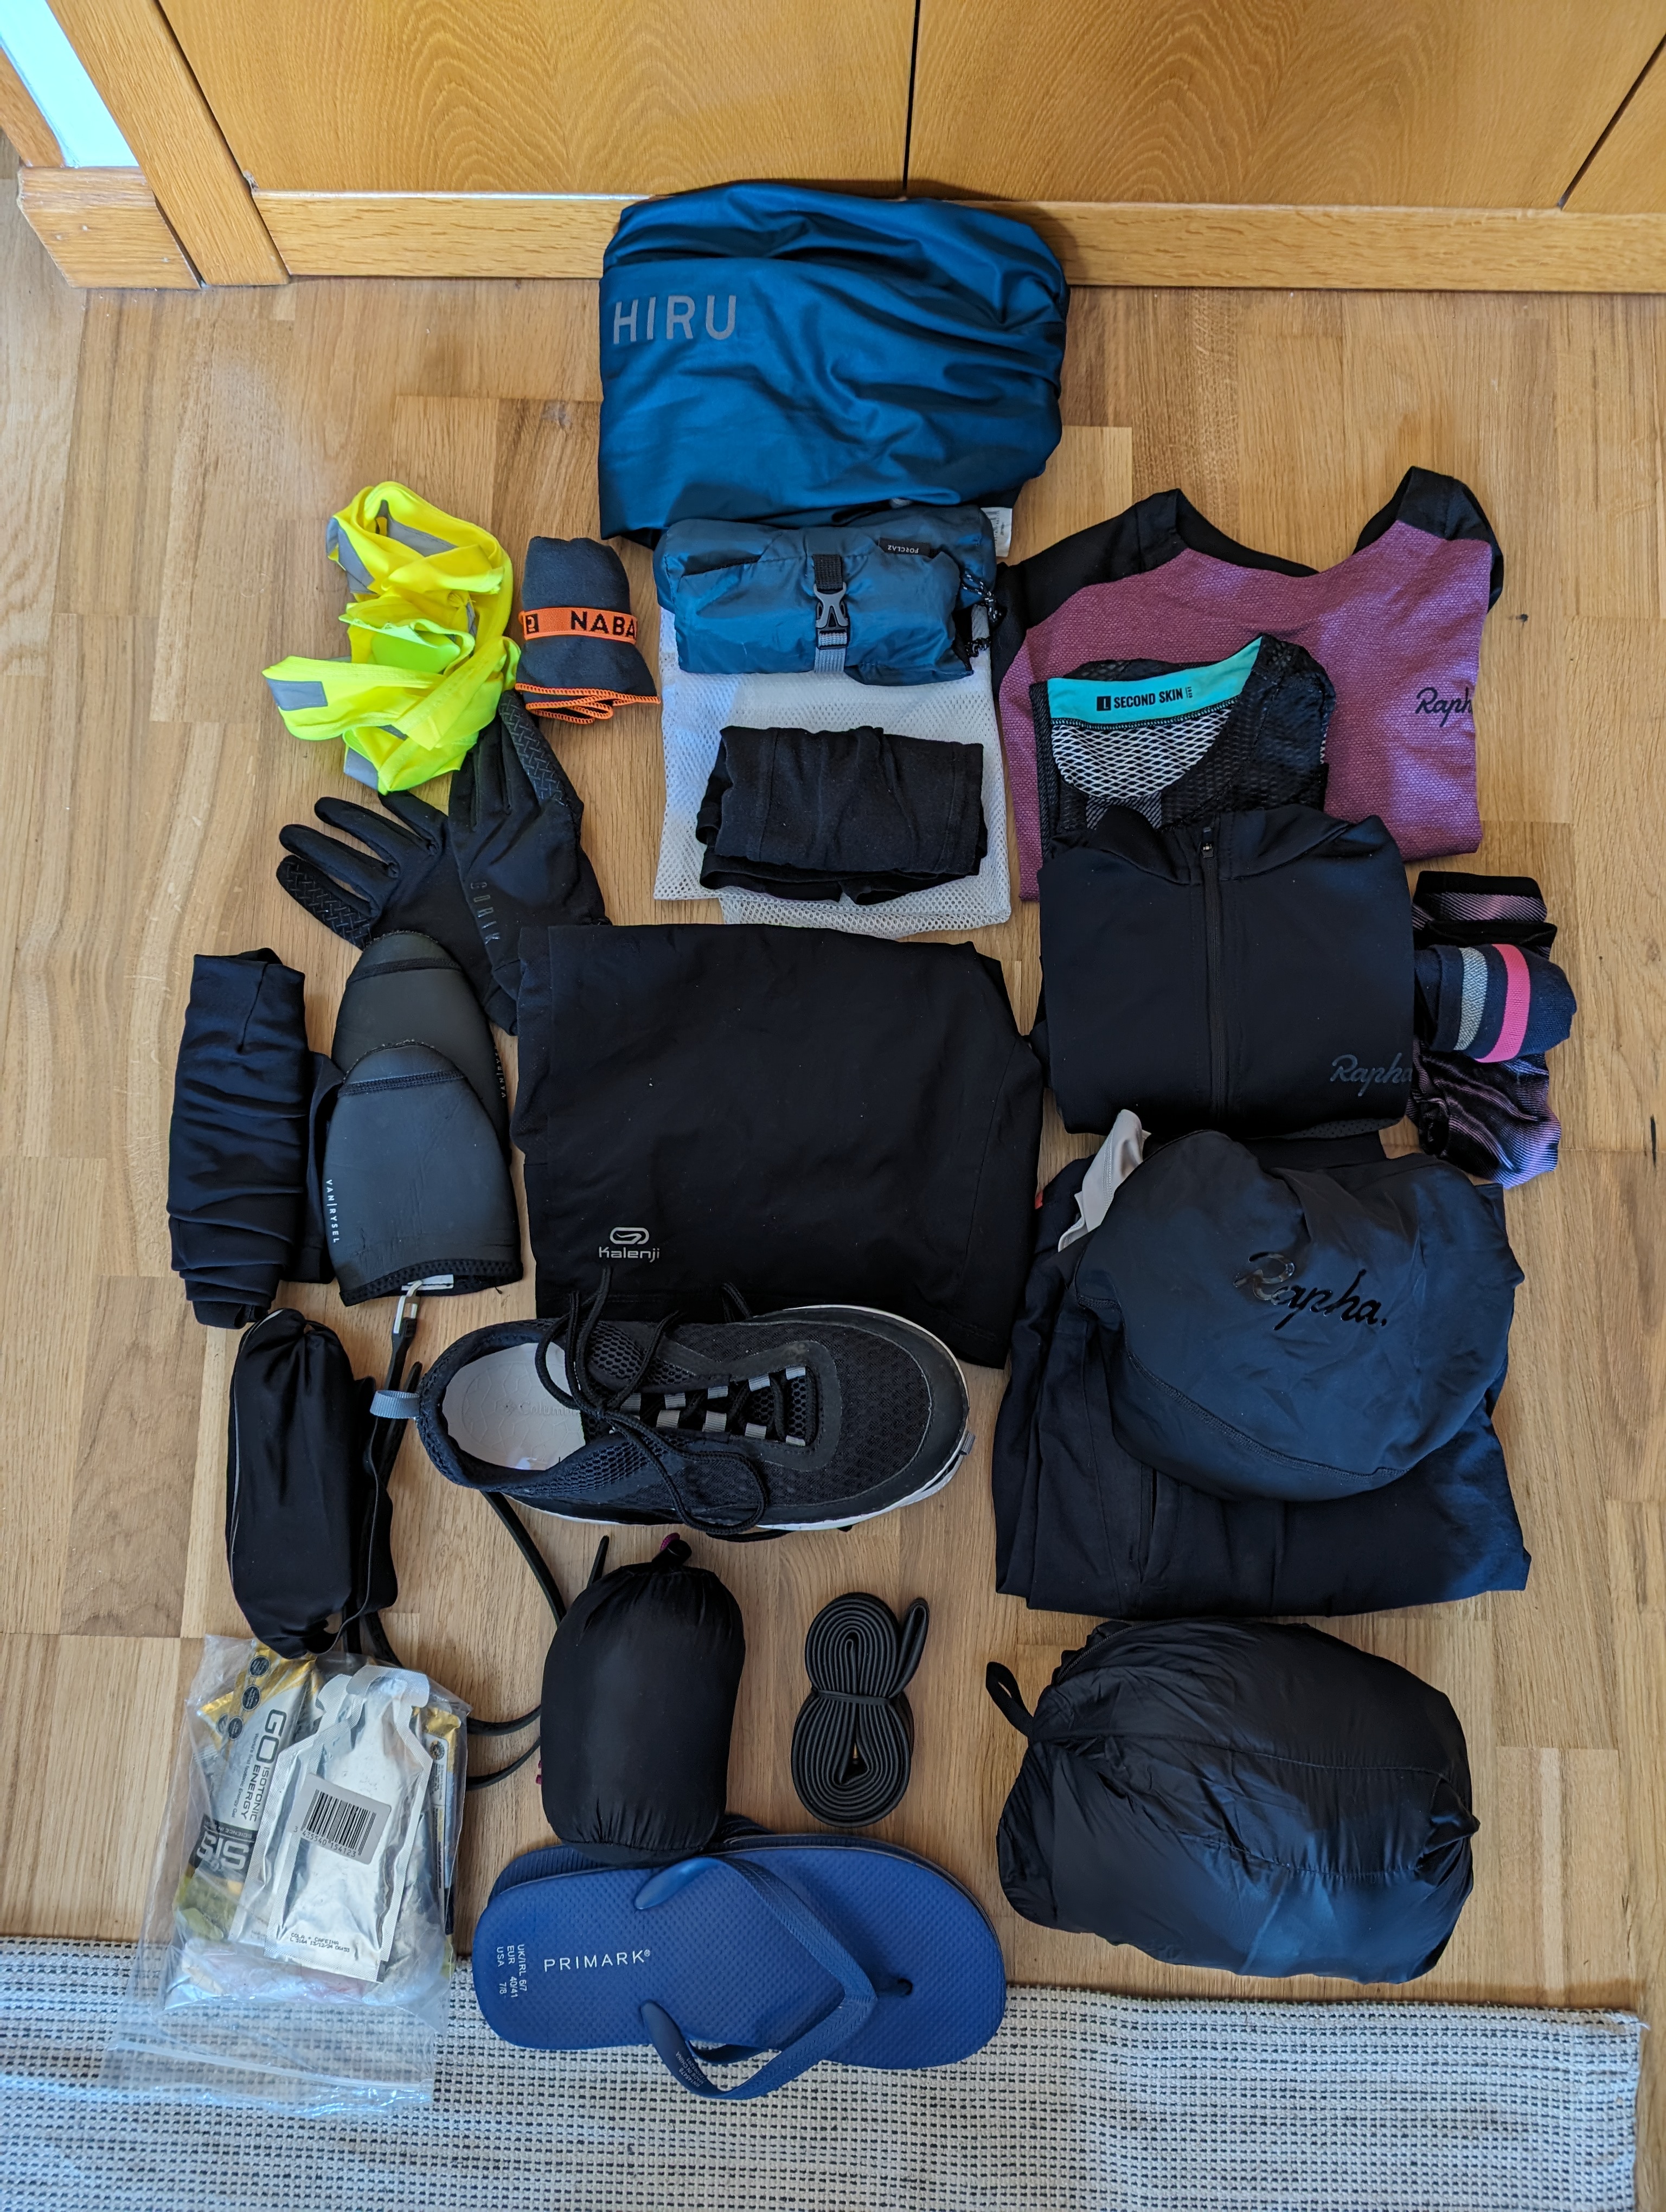
Backloader contents
In detail:
- One cycling jersey
- Hiru windbreaker jacket (which I ended up keeping more accessible because I used it daily)
- A Rab down jacket. I travel with it even in during the summer, it’s super useful. I even had to sleep with it on one night!
- A T-shirt that I can wear on and off the bike
- A bib short
- Sleeveless base layer
- A pair of shorts for stylish strolling at the destination 😄
- A super-light pair of running shorts for sleeping
- One pair of underwear (yes, just one, you can wash things on the way)
- 2 pairs of socks
- Gloves (full finger just in case)
- Leg warmers (which I ended up keeping more handy, in the frame bag)
- Toe covers
- A reflective vest for high visibility
- A liner (but no sleeping bag though)
- A light microfiber towel
- A laundry bag (to keep all my stuff together and not lose anything in the washing machine)
- A toiletry bag: deodorant, chamois cream, toothbrush and toothpaste, some medicines, a piece of soap, and even a small bottle of cologne!
- Extra inner tube
- Some more gels and a sort of waist pack to carry them
- Flip-flops and shoes. I think I could have replaced these two items with just a pair of crocs, they whould serve the same purpose with less weight
I think that’s everything. Well, except for what I was wearing:
What I was wearing
As you can see in the picture below, I wasn’t wearing a cycling jersey but another multi-purpose shirt, for both the bike and casual use. I think it was a good choice.
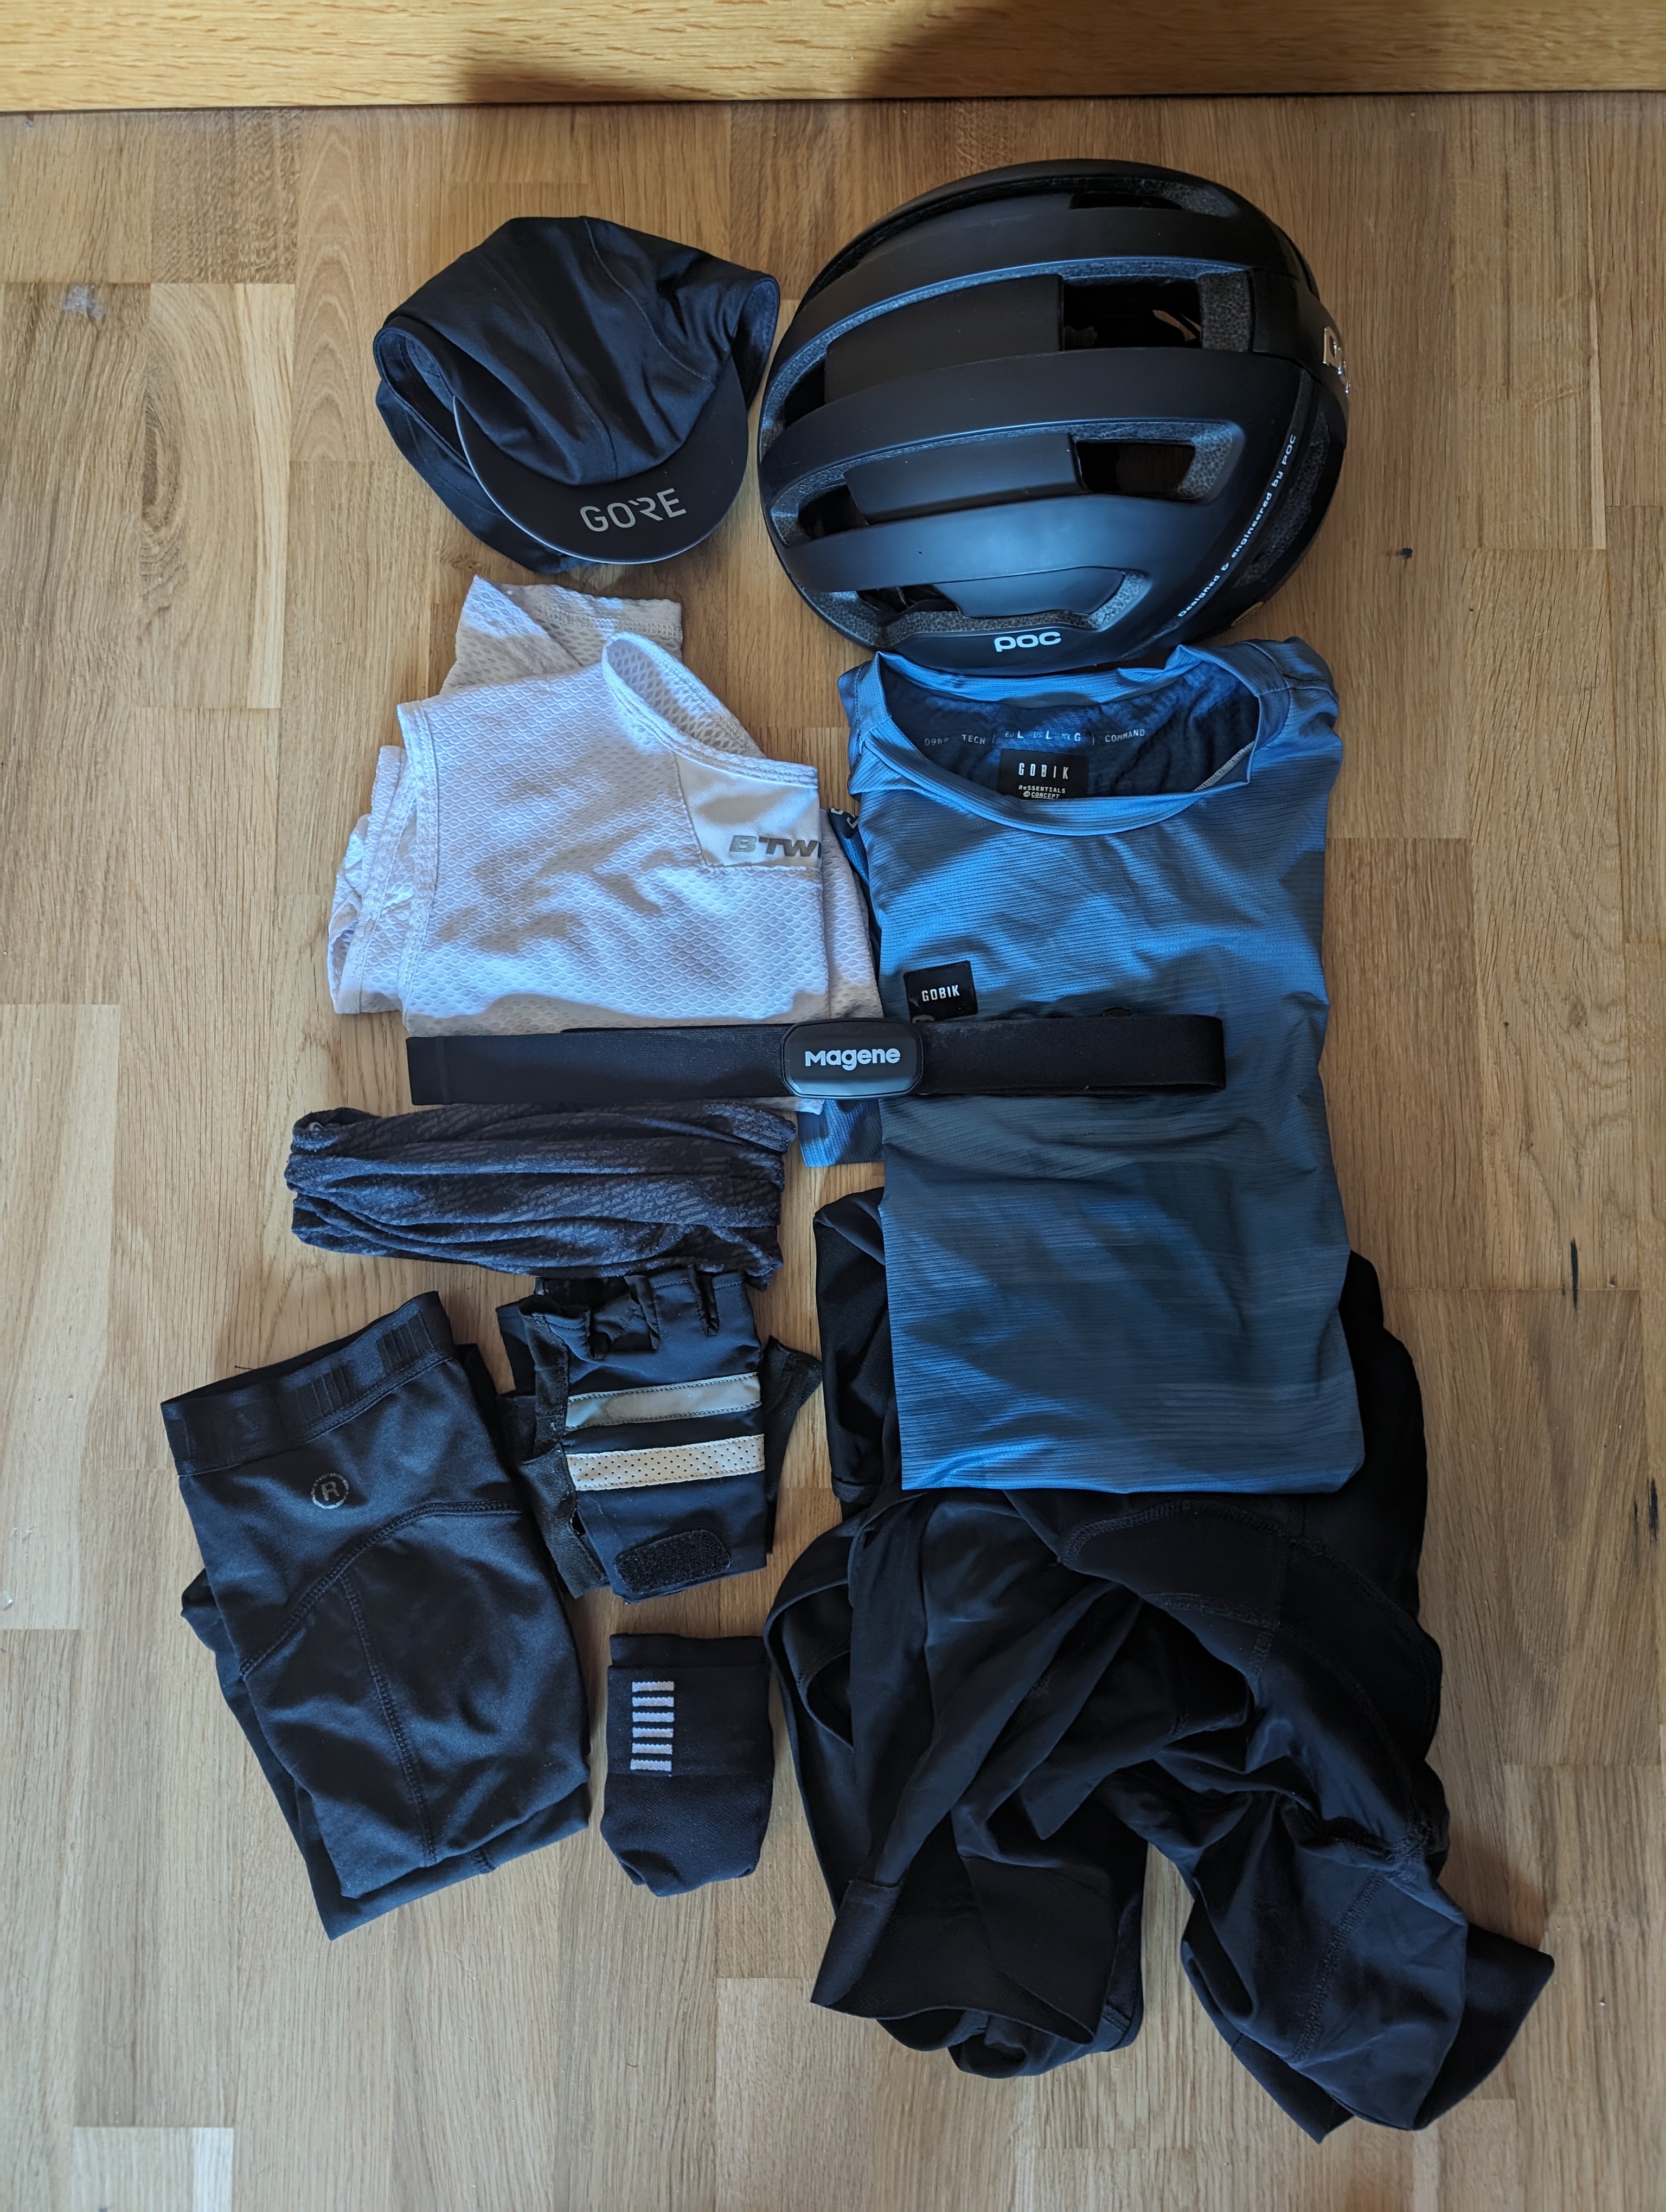
What I was wearing
- Helmet and cap
- Multi-purpose T-shirt
- Base layer
- HR monitor
- Buff
- Mitts
- Arm warmers
- Bib short
- Socks
- Cycling shoes (not in the picture)
Can you travel with less? Yes. I could have forgone some items and carried a smaller 7l backloader I have: an extra shirt and shorts, shoes… But I could carry all this comfortably, avoiding the inconvenience of daily washing or the stress of things not drying in time.
All the gear weighs less than 6 kg including the bags. Not bad!